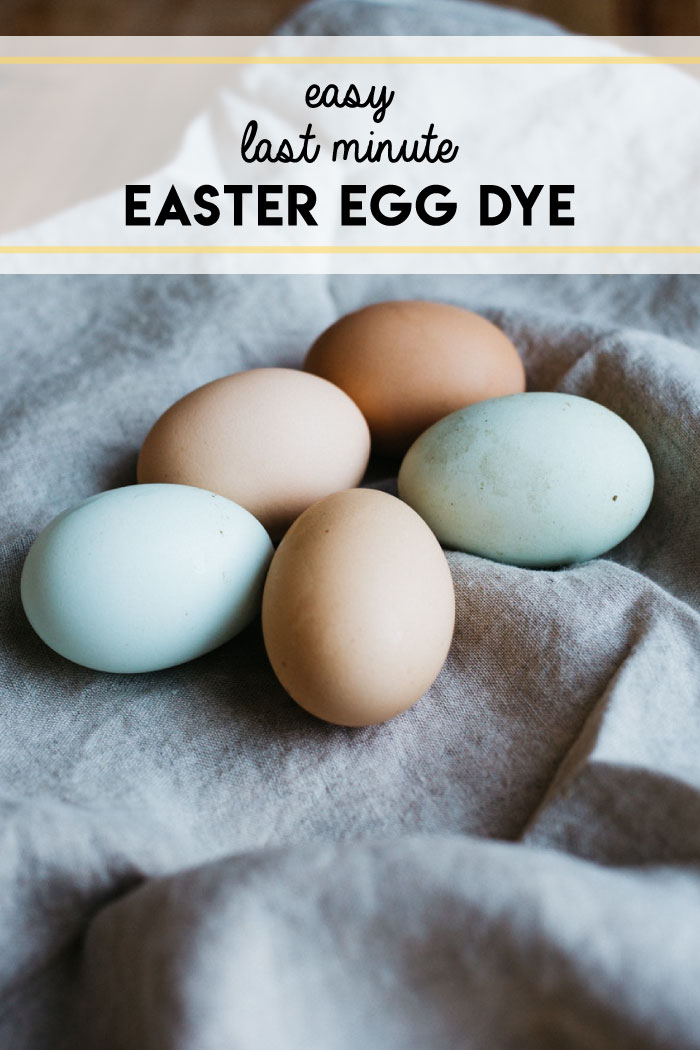
Easy Last Minute Easter Egg Dyes
For a crafty person, I have a desire to do general crafts, but I rarely do any planning ahead to prepare for them. I always worry that if I plan to do something date-related, we'll have a rough week (e.g., meltdowns, colds, etc.) and I'll feel a sort of crafty failure and sadness for my girl as I stuff the unused box of Paas into the back of the closet on Easter Monday...only to not be able to find it again next year when it turns out we do have time and inclination to color eggs. So, yes, I suffer from avoidance of craft disappointment.
This year, I'm prepared, but not with pellets from a box. A bit of memory diving and a quick bit of verifying research led to a plan that is easy to do at the very last minute with virtually no planning. Perfect, especially if you're cleaning for company, cooking holiday meals, and/or dealing with life as usual.
This year we wanted to dye eggs, but the eggs we buy are brown. I'm not going to go buy white eggs that aren't as tasty as our usual eggs just to have pretty pastels. Seriously, it's still a food item, so taste and quality trump craft. Plus, buying different eggs would be planning ahead, and that's not always possible. We like deep jewel colors, so I wanted to find a way to dye brown eggs with vibrant colors. Success! The result is simple and beautiful. It's also cheap and massively easy. It might be more difficult to not do it, frankly. Here's how to create your own last minute Easter egg dyes:
Prepping the Dyes
1. Hard boil the eggs. Let them cool.
2. Grab some drinking glasses, as many as you want colors. Fill each glass with an inch or two of warm water.
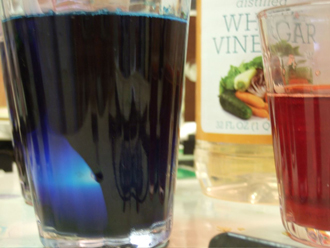
3. Add food coloring. We used paste colors to get hues that worked with brown eggs. We used about a 1/4-1/2 teaspoon per color--a good dollop on the tip of a butter knife. For liquid colors, you may want 30-40 or so drops to get a good color. Use less if you're doing white eggs, use more if you want super intense. Dissolve in the water. (For paste, we dissolved it in hot water, so make sure to keep the kids away at that point.)

4. Top up each glass with enough water to submerge an egg, but still leave plenty of space at the top to avoid overflows. (Use cool water for paste to bring it to safer room temperature.)
5. Add a teaspoon or two of white vinegar to each cup to fix the color.
Prepping the dyes takes about 3 minutes. The boiling and cooling is by far the longest time investment.
Also, one additional tip about coloring: Yellow won't work well for brown eggs. Orange has to be super bright or else it still looks sort of brown, even though it is different.
Decorating & Coloring the Eggs
1. Before you start decorating, protect clothing and furniture and rugs and whatever else. This stuff stains. (I didn't really need to say that, I'm sure.) If family portraits are coming up, wait until after the photos because fingers could be multicolored.
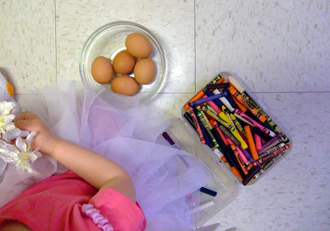
2. Decorate the hardboiled eggshell with crayons before you dye. Make stripes and plaids--whatever you would do with the box variety. My daughter also likes to color them a single color and then color them with crayons afterward. They're very pretty that way, actually.
3. Gently lower the eggs into the prepared dye cups. We use a plastic soupspoon for dipping because it nestles the egg well and there are fewer splashes of staining color everywhere.
4. Dunk each egg in plain water after dying it. Then let it dry. It will transfer color until it's dry (just like the kits).
Voila! This prep is so easy that we've dyed a few hardboiled eggs just for some random, non-holiday lunches. My daughter gets some crafty fun and she's more likely to chow down on the egg if she's made it pretty first.

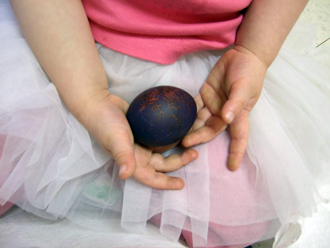
All Easter egg process images courtesy of April Paffrath. Featured image by Photo by Rachael Gorjestani on Unsplash