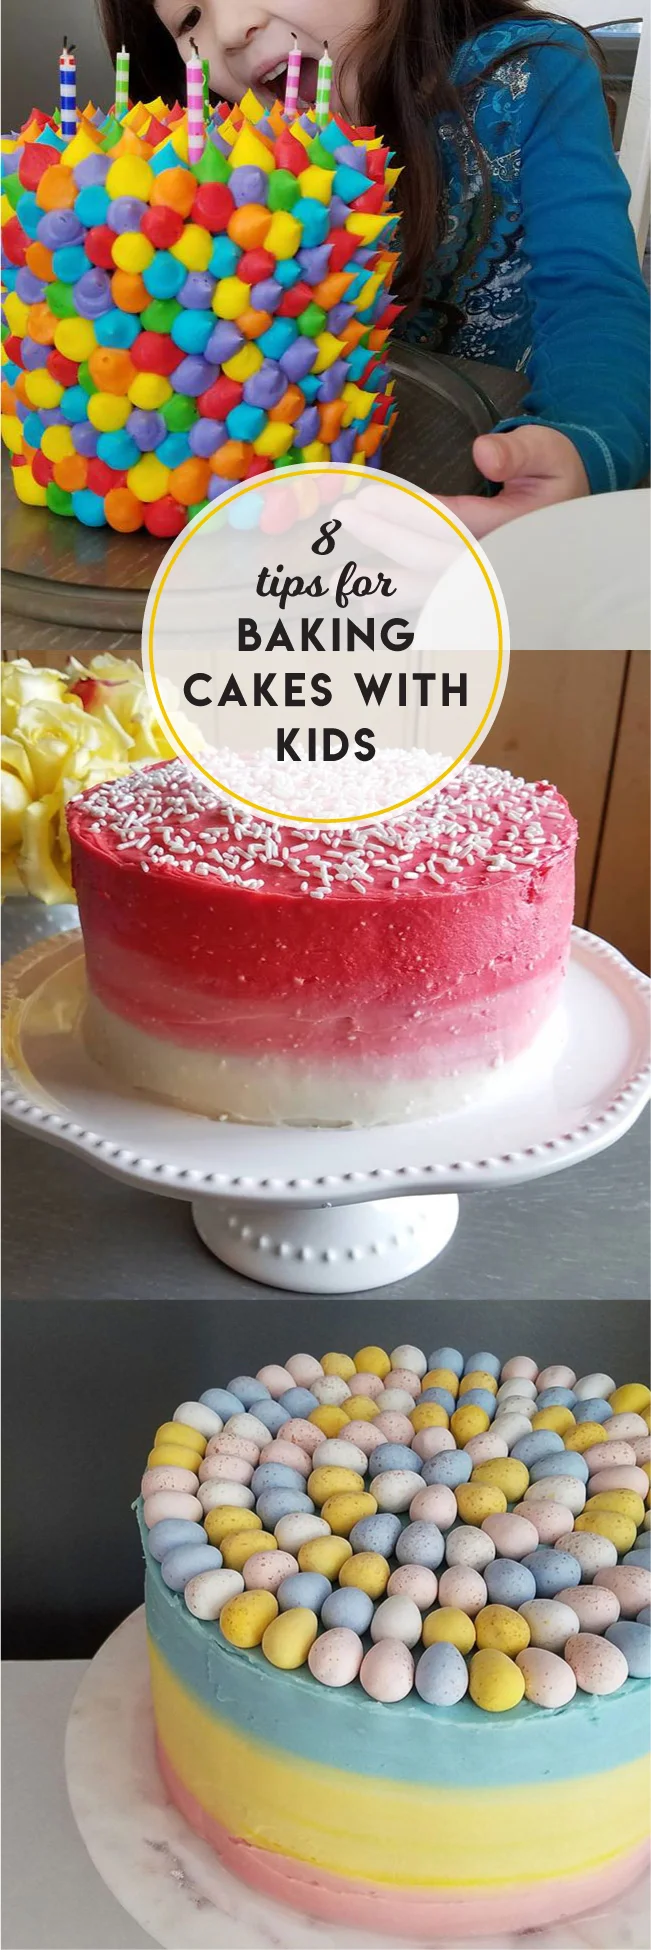
8 Tips For Baking Cakes With Kids
If you follow me on Instagram you will know that I make a lot of cake. (Also see one sheet cake, four ways + this PJ Masks Gecko cake!) It’s a creative therapy outlet for me and cake is my favorite dessert so eating it is of course a win! Laurel and Violet also love to bake (Laurel can totally make cakes on her own now and thanks to shows like Kids Baking Championship Violet is asking for cakes involving things like raspberry coulis!) so over the years I have received a lot of questions about cake baking with kids, and basic cake tips in general. My wonderful creative assistant Lauren recently provided the kick in the pants to offer some tips on baking cakes with kids, so thank you Lauren! These tips are also great if you just generally want to start experimenting with cake baking.
1. It’s OK to use box mix!
Reality is, for kids, the most fun will be decorating so it is perfectly fine to opt for a boxed cake mix to speed up the process. Immaculate Baking offers great mixes in yellow and chocolate. That said, if you and your kids would actually enjoy the from-scratch process (my kids do!), a few of my go-to’s include: this simple vanilla cake, the luscious chocolate layer cake in Lori Longbotham’s Luscious Chocolate Desserts cookbook, and this Devil’s food cake. All three come out perfect every single time and are moist and delicious! The simple vanilla cake is especially easy to knock together.
2. Understand different types of frosting (to suit your decorating desires)
Understanding different types of frosting is important because different frostings do different things! Here are some examples you will likely come across:
A chocolate ganache (a mixture of chocolate and cream...sometimes butter is also added) is used as a glaze or filling or for basic spreading, as with this buche de noel I made at Christmas. If your kids would simply enjoy spreading with a knife, then this type of frosting -- or the store-bought can of frosting -- would work. This type of frosting is not as well suited for piping.

Cream cheese frosting is my favorite taste-wise (the cake below is red velvet, which requires cream cheese frosting!) and it pipes well (see this bunny cake). HOWEVER, if you want to make a cake with a smooth side/top, do not use cream cheese frosting! Even with all of my ingredients at room temperature, I couldn’t break down the tiny little cream cheese bits so in the picture below you can see them in the sides of this frosting, which kind of bugged me!

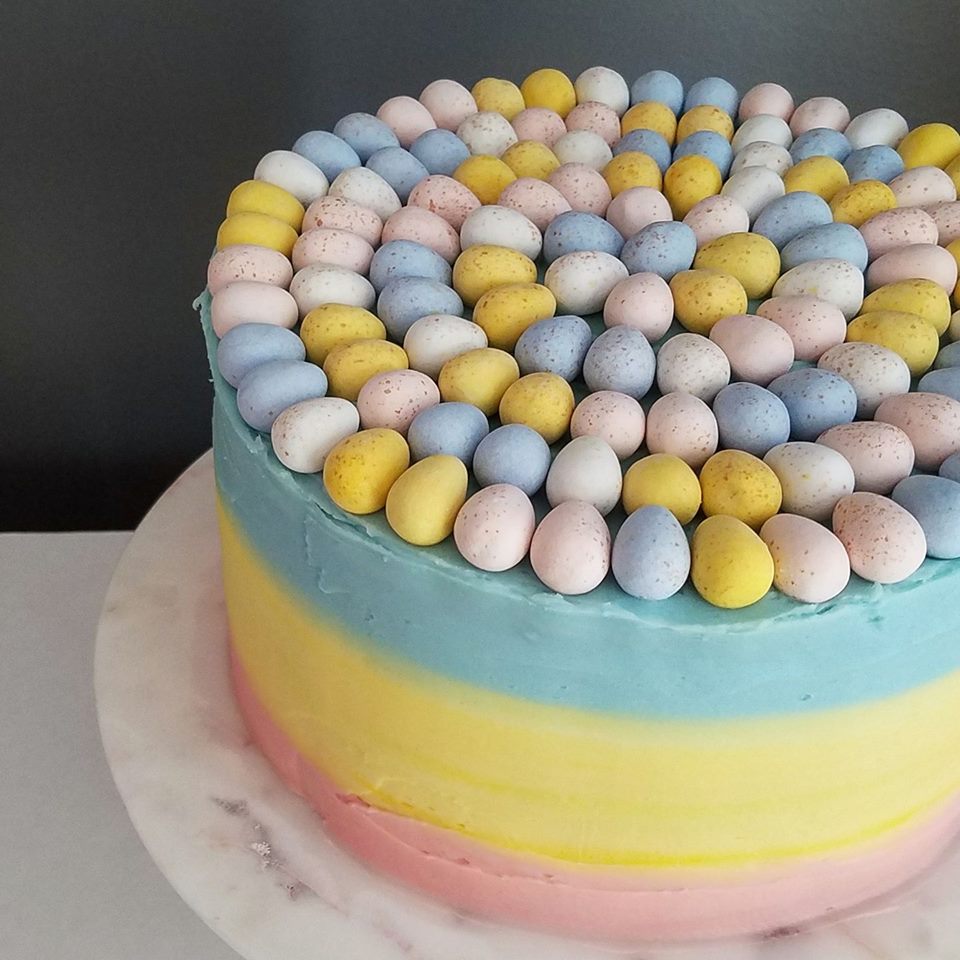
If you want to be able to create a smooth side/top AND be able to pipe, make buttercream. This basic buttercream from Martha Stewart couldn’t be easier (it only includes 3 ingredients!). I used the same buttercream for the below Easter cake + Violet’s rainbow birthday cake.

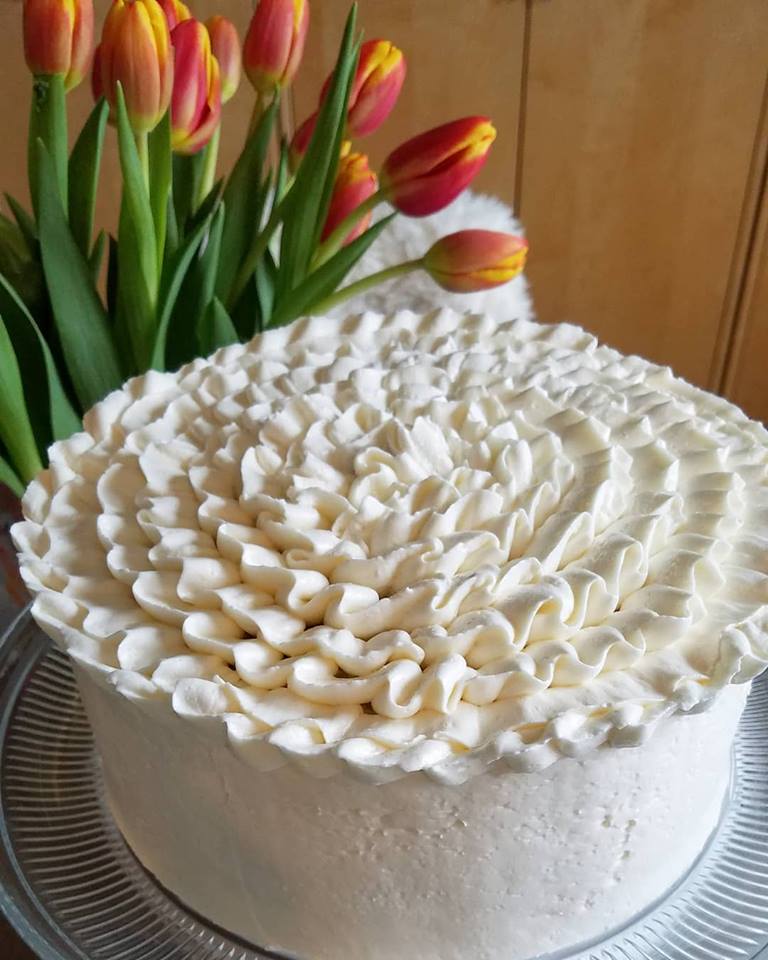
Swiss meringue buttercream is touted as the end all be all for piping (I’ve also heard good things about Italian meringue for piping). The piped ruffles for sure held beautifully on this cake, but know that Swiss and Italian meringue are more involved. With kids, I would still recommend starting with simple buttercream!
Lastly, there is something called seven-minute icing, which I love because it is lighter (no butter!) -- it’s essentially like a meringue. However, two things to note. It’s not really good for piping (better for swoops, as in this photo -- which is a great job for kids to tackle!) and it “deflates” so the next day it doesn’t look as appetizing as made fresh.

3. Play with color!
One of the most fun things will be using color, which is another reason I have been making so much simple vanilla buttercream! One of Violet’s favorite things is mixing the color into the frosting, especially when we’re making lots of colors as we did with her rainbow cake. I use Wilton gels exclusively because a tiny bit goes a long way, which means your frosting also maintains its structure. If you need to buy store-bought food coloring, get the gel not the liquid!
4. Stick to the basics when it comes to cake tools
There are so many tools out there it is INSANE. But really, keep it simple. Here are a few basics I recommend:
- OK, so wow, I was going to recommend all 3 of these things but Koontek offers a cake turntable, spatula, and smoother for $11.99! These tools are great if you want to achieve the smooth side of some of the above cakes.
- Piping bags are essential; I get extra life out of my disposable ones by letting them soak then washing them out.
- Last year I bought a big Wilton frosting tip kit and honestly, it’s totally overkill. Just get a small starter kit like this one. You can achieve a lot just with simple round, leaf, and star tips!
5. Level your cake (the lazy way!)
I didn’t figure out the power of cake leveling until this past year. It makes things look so much better! And I have a really lazy technique I have adopted that doesn’t waste as much cake. So, many cake leveling tutorials lop off the whole domed top of the cake, which seems like a tragic waste of cake to me! Instead, I just trim off the top of the domes to create a flat center (so your layers won't teeter totter) and then build up the outer ring with frosting. And then I picked up a great tip from a Kids Baking Championship contestant. For the top layer, flip it over so it is bottom-side up -- your cake top will be perfectly flat!
6. Crumb coat your cake
When I was a kid decorating cakes, we would just glob the frosting right on and invariably have lots of crumbs get all over the cake. If you want to avoid this, have your kid crumb coat the cake! This just means you lightly coat the entire cake in a thin layer of frosting to seal in the crumbs. Then you can pipe on top of that without lots of little crumbs coming to the surface.

7. Take a few minutes to learn some basic piping techniques
It’s really helpful to watch a few videos to learn some basic piping techniques! Here are a few to get you started. Violet LOVES watching decorating tutorials!
I like this one because it shows 5 great effects with 5 basic tips.
I also recommend this video if you want to see some cupcake examples + how to do the ombre effect as I did with some of my cakes in this post.
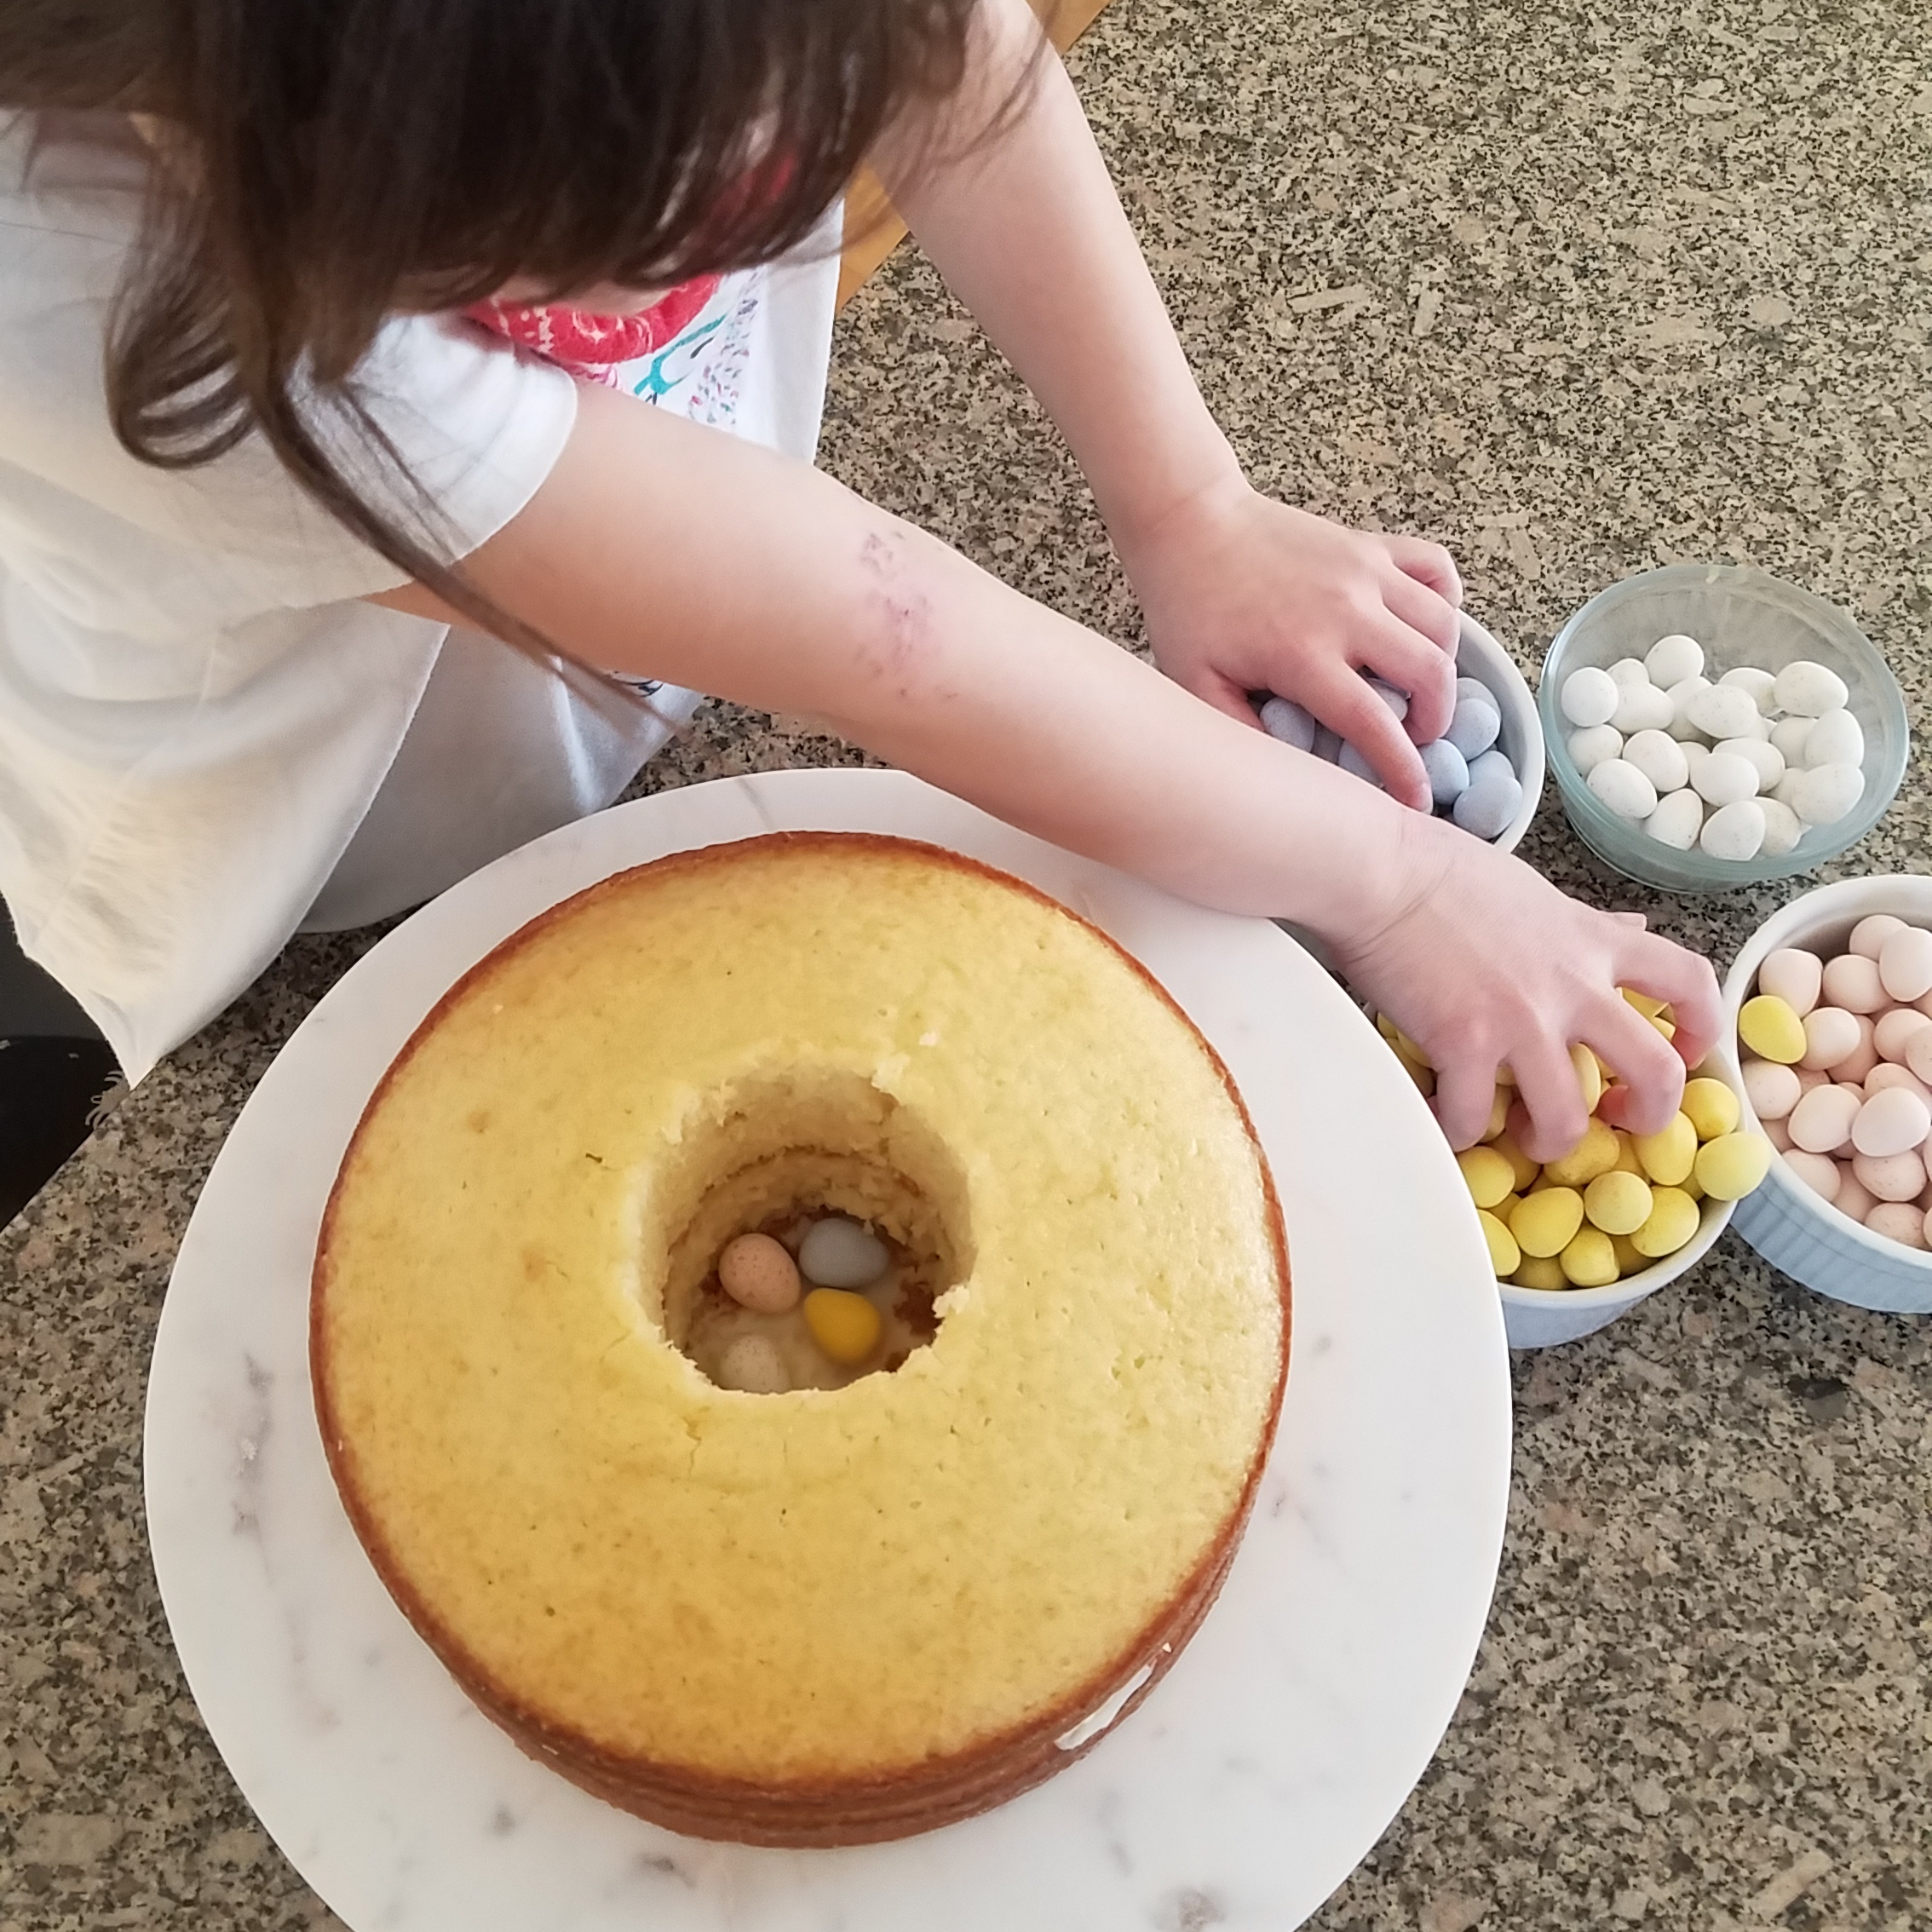
8. When in doubt, add sprinkles or candy!
Like color, kids love sprinkles and candy! The Cadbury mini eggs on the Easter cake above were an easy win. And to save on space, I like getting the samplers like rainbow sprinkle assortment, flower medley, and animal and stars.
Happy cake baking! If you have other favorite recipes or tips to share, I'd love to hear about them in the comments!
All photos by Christine Koh