
How To Make an Owl Tree Cupcake Cake
Violet is all about owls and on Sunday she had some friends over to celebrate her birthday and I decided to try making an owl tree cupcake cake. I hadn’t made a cupcake cake before but love the idea! Cupcakes are less messy for kids to eat and the pull-apart nature of them is pretty fun too! I had a general idea of what I wanted the tree cake to look like and what I needed to make it happen but ultimately (as seems to often be the case for me!) I ended up winging it through several steps so I wanted to document the how-to both in case I want to replicate it some day and because a lot of people were asking me how to make it! And if you don’t want to make a tree, you can just make the owls—they are insanely cute!
One note: because of the way I wanted to shape the tree, this cupcake cake ended up being very large! Luckily we had a 20” x 30” foam core sheet kicking around to serve as the base. But since I didn’t have an air-tight way to cover a 20” x 30” sheet of foam core, I made and decorated the cupcakes the day before the party and stored them in containers (I have one of these cupcake condos + I used a large cake box). The only thing I did right before the party was lay out the cupcakes and pipe the tree bark.
You will need
40-48 cupcakes (you will need 40 to create the full tree design I show here; I made extra owls because I figured each kid would want an owl…which was the most spot on prediction in history)
1 batch of vanilla frosting (possibly a bit more if you are heavy handed with icing)
1 batch of chocolate frosting
Candy: white candy melts + M&Ms (for owl eyes) + chocolate chips (for owl ears)
Piping supplies: piping bags + piping tips 4 (for owl talons + beak), 12 (for owl chest feathers) 2D (for tree leaf cupcakes), 4B (for tree bark)
Instructions
1. Make cupcakes
Boxed or homemade is fine! I love Martha Stewart’s yellow cake recipe; it’s easy to make and the cake recipe yields 24 cupcakes. To make this owl cake you will need to double the recipe.
2. Prep your frosting
You will need two types of frosting: chocolate + vanilla. Again store-bought is fine (as long as it’s pipeable). I made the creamy vanilla frosting that accompanies the above yellow cake recipe and here is a chocolate buttercream recipe that is similar to the one I used.
In a separate bowl mix a very small amount of vanilla frosting with orange food coloring (you only need enough for talons + beak; be stingy with the vanilla frosting because you will need most of it for the leaf cupcakes) and load it into a piping bag with a 4 tip. In another bowl mix a small amount of vanilla frosting with a small amount of chocolate frosting and load it into a piping bag with a 12 tip. Again, this is just for the owl chest feathers so you don’t need a ton. Wait to color the remaining vanilla frosting green once you have completed the owls and know you are don’t need any more vanilla frosting (in case you didn’t make enough orange or light brown and need to make a smidge more).

Owl tree cupcake cake: small amounts of orange frosting (for beak + talons) and light brown frosting (for chest feathers)
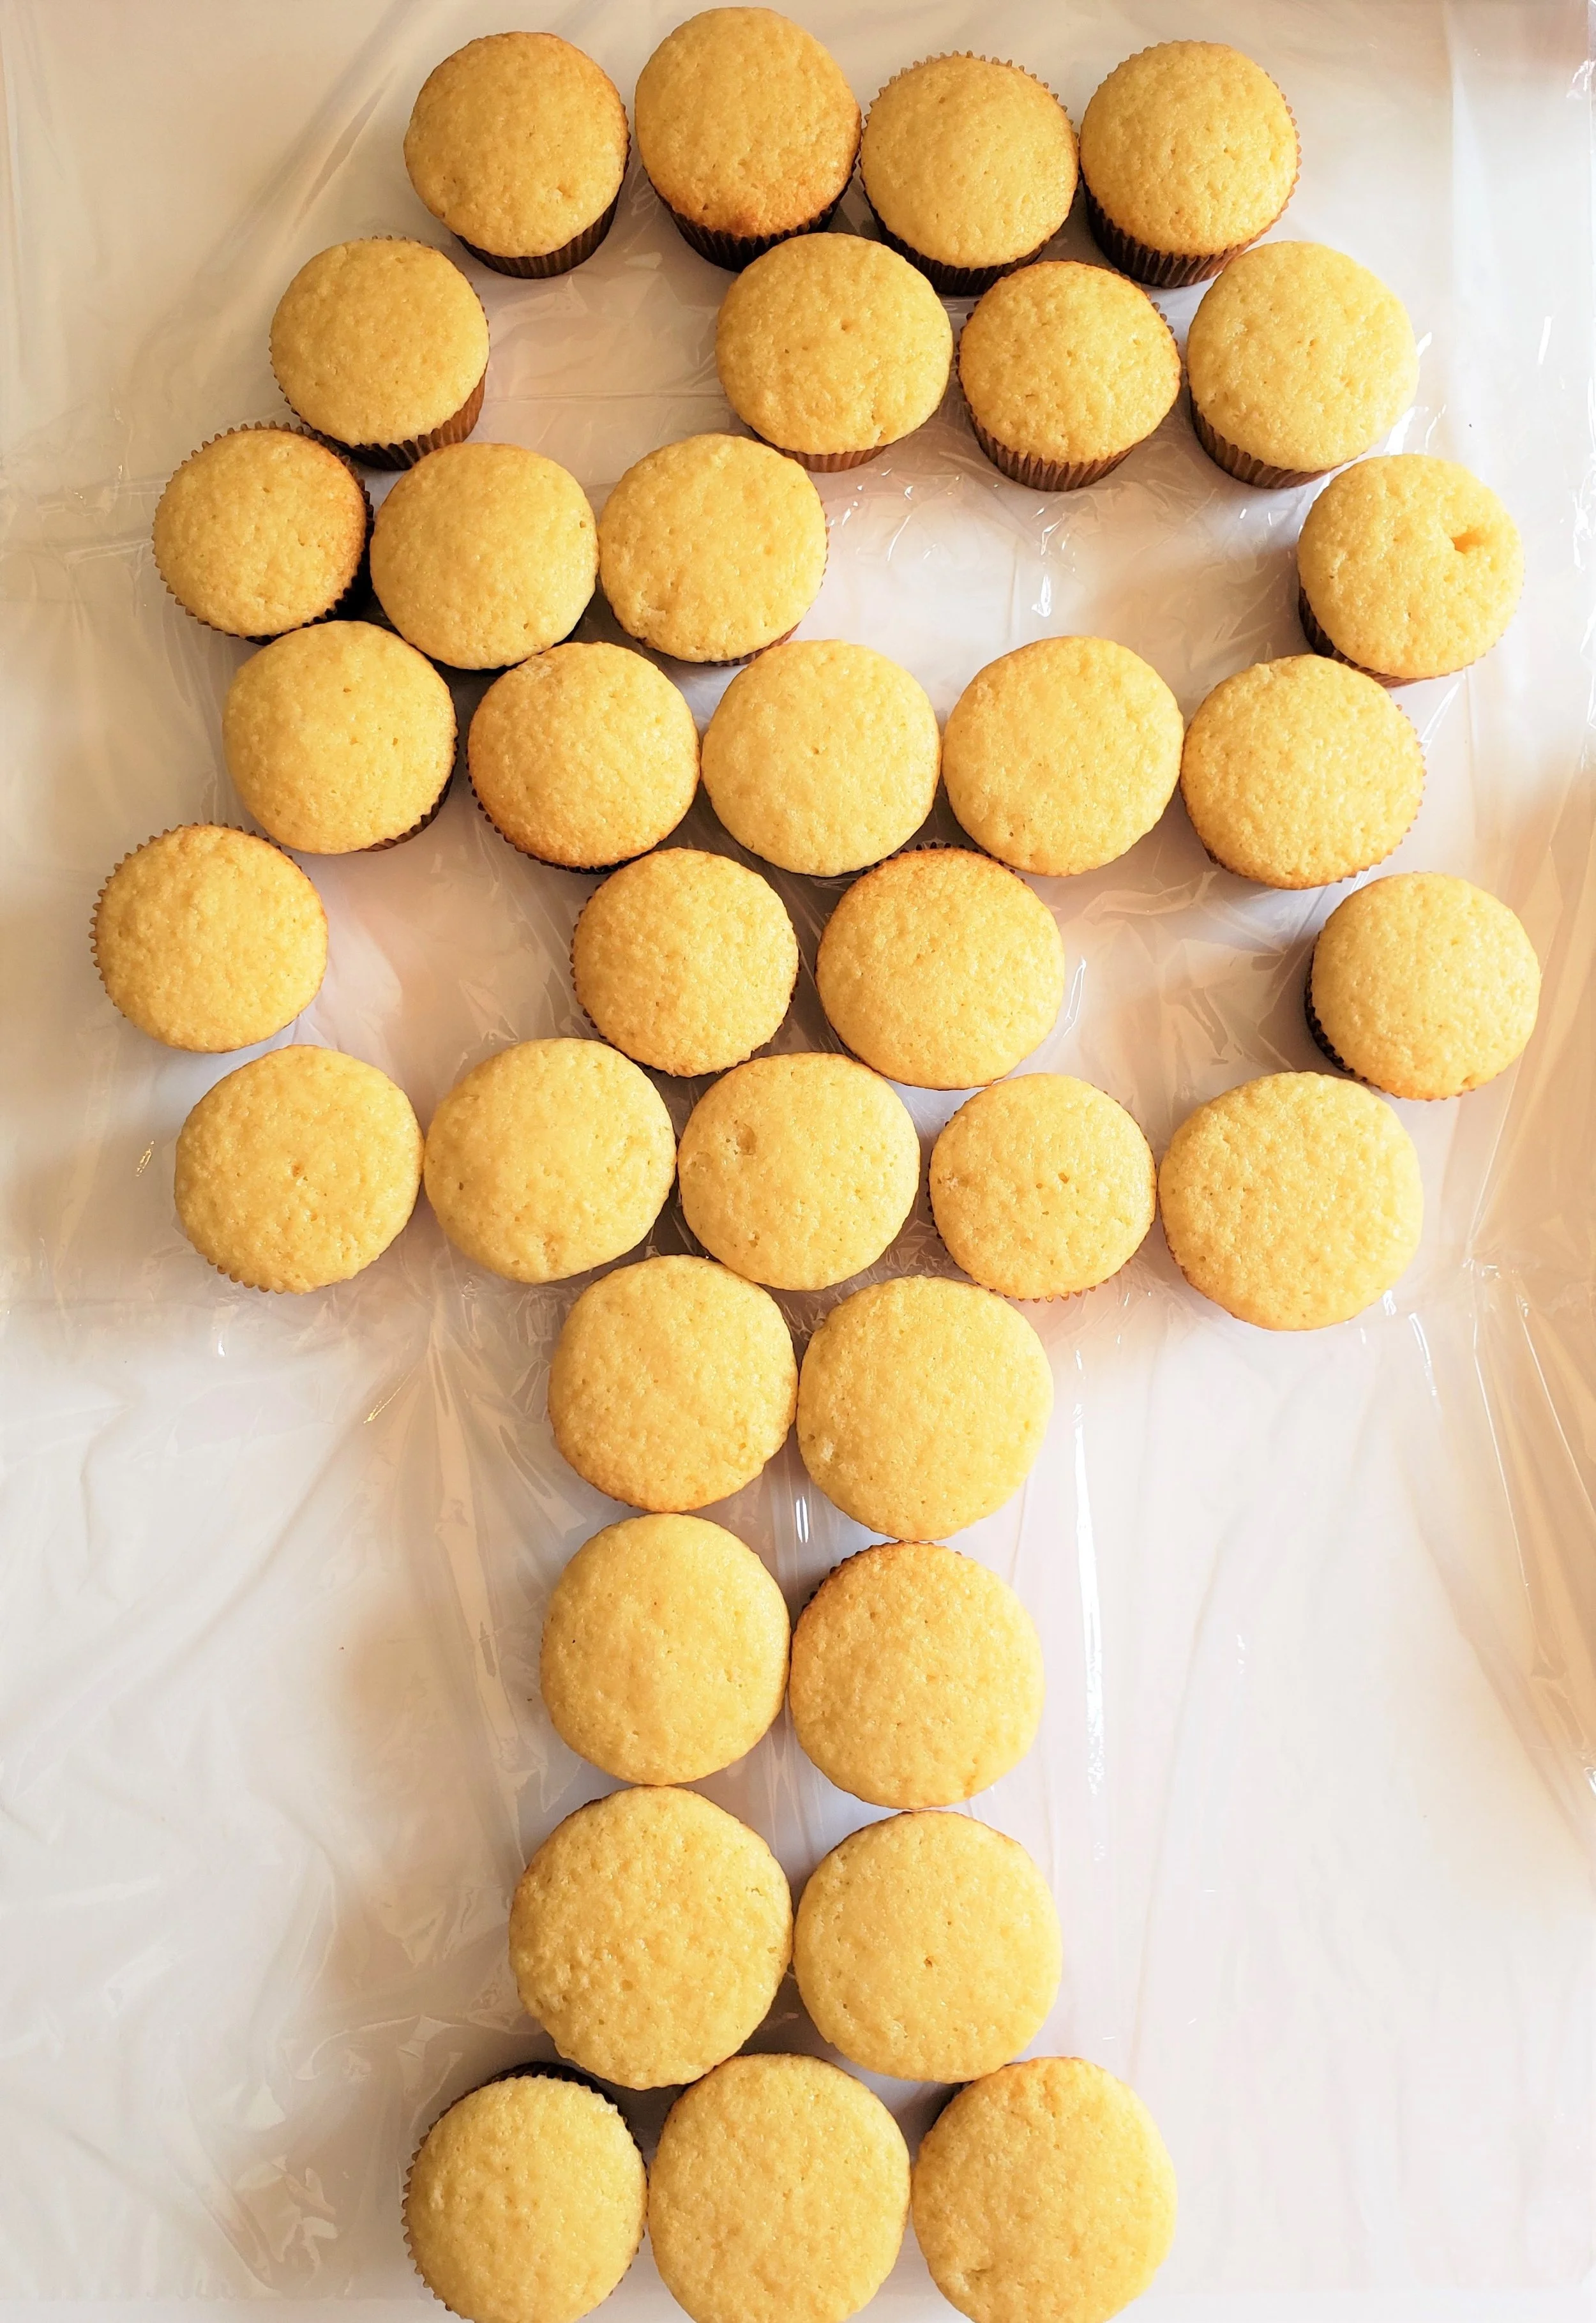
3. Lay out your tree shape
OK, so originally I was planning on assembling this cake on a rectangular platter but then I realized that I needed a much bigger surface for my design! I put down a piece of plastic wrap on a 20” x 30” sheet of foam core and adjusted the shape until I was happy with it. If you opt to use a different shape than what I am showing, take a picture so you remember the layout!

Owl tree cupcake cake layout
4. Remove the owl cupcakes
Remove the cupcakes that will be owls. Again, if you opt for a different layout, take a picture of it so you can refer to it when you assemble the cake!
Owl tree cupcake cake: remove the owl scupcakes
5. Put a base coat of frosting on your tree trunk cupcakes
Frost your tree trunk cupcakes with chocolate frosting and set aside. I mostly did this so I would remember which cupcakes not to frost as owls and leaves. It proved a very helpful tactic.
6. Make the owl cupcakes
OK, here’s the fun part...owl assembly time! First, spread a layer of chocolate icing on each owl cupcake. Add a little extra frosting height around the edges so the cupcake icing is relatively flat.

Owl tree cupcake cake: chocolate frosting base
You are now going to work your way up the owl to decorate. Use the orange frosting bag with the 4 tip to pipe two pairs of owl talons (3 little lines).

Owl tree cupcake cake: add talons
Use the light brown frosting with the 12 tip to pipe the chest feathers. Start at the bottom with 5 feathers, starting in the middle of the talons and pulling the frosting bag up toward the top of the cupcake. For the next row layer 4 feathers on top, then 2 feathers, finishing in a point.

Owl tree cupcake cake: add chest feathers
Add two white candy melts to each cupcake for the eyes.

Owl tree cupcake cake: add candy melts for eyes
Check to make sure the non-letter sides of your M&Ms aren’t chipped or broken. Pipe a dab of orange frosting on the letter side of each M&M and affix to white candy melts. Use the orange icing to pipe a little triangle beak. Then add chocolate chips for the ears! SO ADORABLE!

Adorable owl cupcakes!
7. Make the tree leaf cupcakes
Color your remaining vanilla frosting green. You can use whatever piping tip you want but I like the pretty look of the 2D tip. Start from the outside of the cupcake working in and pipe a spiral. Don’t make a huge mound of frosting or you may run out. Just use enough to cover the cupcake top.

Owl tree cupcake cake: leaf cupcakes
At this point you can store all your decorated cupcakes and return to final assembly later.
8. Assemble your cake on the board
Start from the base of the tree centered on your board. Lay out the tree trunk cupcakes and then the tree leaf + owl cupcakes. I was so glad I took pictures of my design because I referred to the picture repeatedly!

Owl tree cupcake cake: final layout before piping the tree trunk
9. Pipe the trunk
Using the 4B tip, start piping up and down the tree trunk in irregular lengths; I started from the outline of the cupcakes and worked my way in. I also made some oval shapes to look like tree hollows. To deal with the larger gaps between cupcake edges, pipe out on the farthest edges of the cupcakes to start, then gently build on top of those edges until you close the gaps At the end, I went all around the sides of the trunk to make it look more straight and less cupcake shaped. It apparently worked because people asked if the trunk was made from regular cake!

Owl tree cupcake cake
And there you have it! Have fun decorating!

How to make an owl tree cupcake cake